
Build a MySQL Admin Panel in 5 Simple Steps!
MySQL is a relational database management system (RDBMS) developed by Oracle that is based on structured query language (SQL). In this guide, we’ll walk you through the seamless process of building a robust MySQL admin panel in just 5 simple steps. From customer-facing web applications to intricate, data-driven B2B services, MySQL proves its prowess in diverse software stacks. Internet-critical giants like Facebook, Flickr, Twitter, Wikipedia, and YouTube leverage MySQL backends, drawn to its open-source nature, stability, and extensive feature set. Follow along as we delve into the steps to craft your MySQL admin panel and enhance your database management effortlessly.
Why a MySQL Admin Panel?
While MySQL is amazing, it can only be accessed using SQL and thus requires a thorough knowledge of SQL to access the database and derive insights. Furthermore, it lacks a visual tool to display and interact with the data, view charts & modify the database. An admin tool will allow you to add new hosts to the database and search through the data. An interface for MySQL database makes it easy to perform the actions you need without doing anything destructive. No need to worry about errant DROP DATABASE commands.
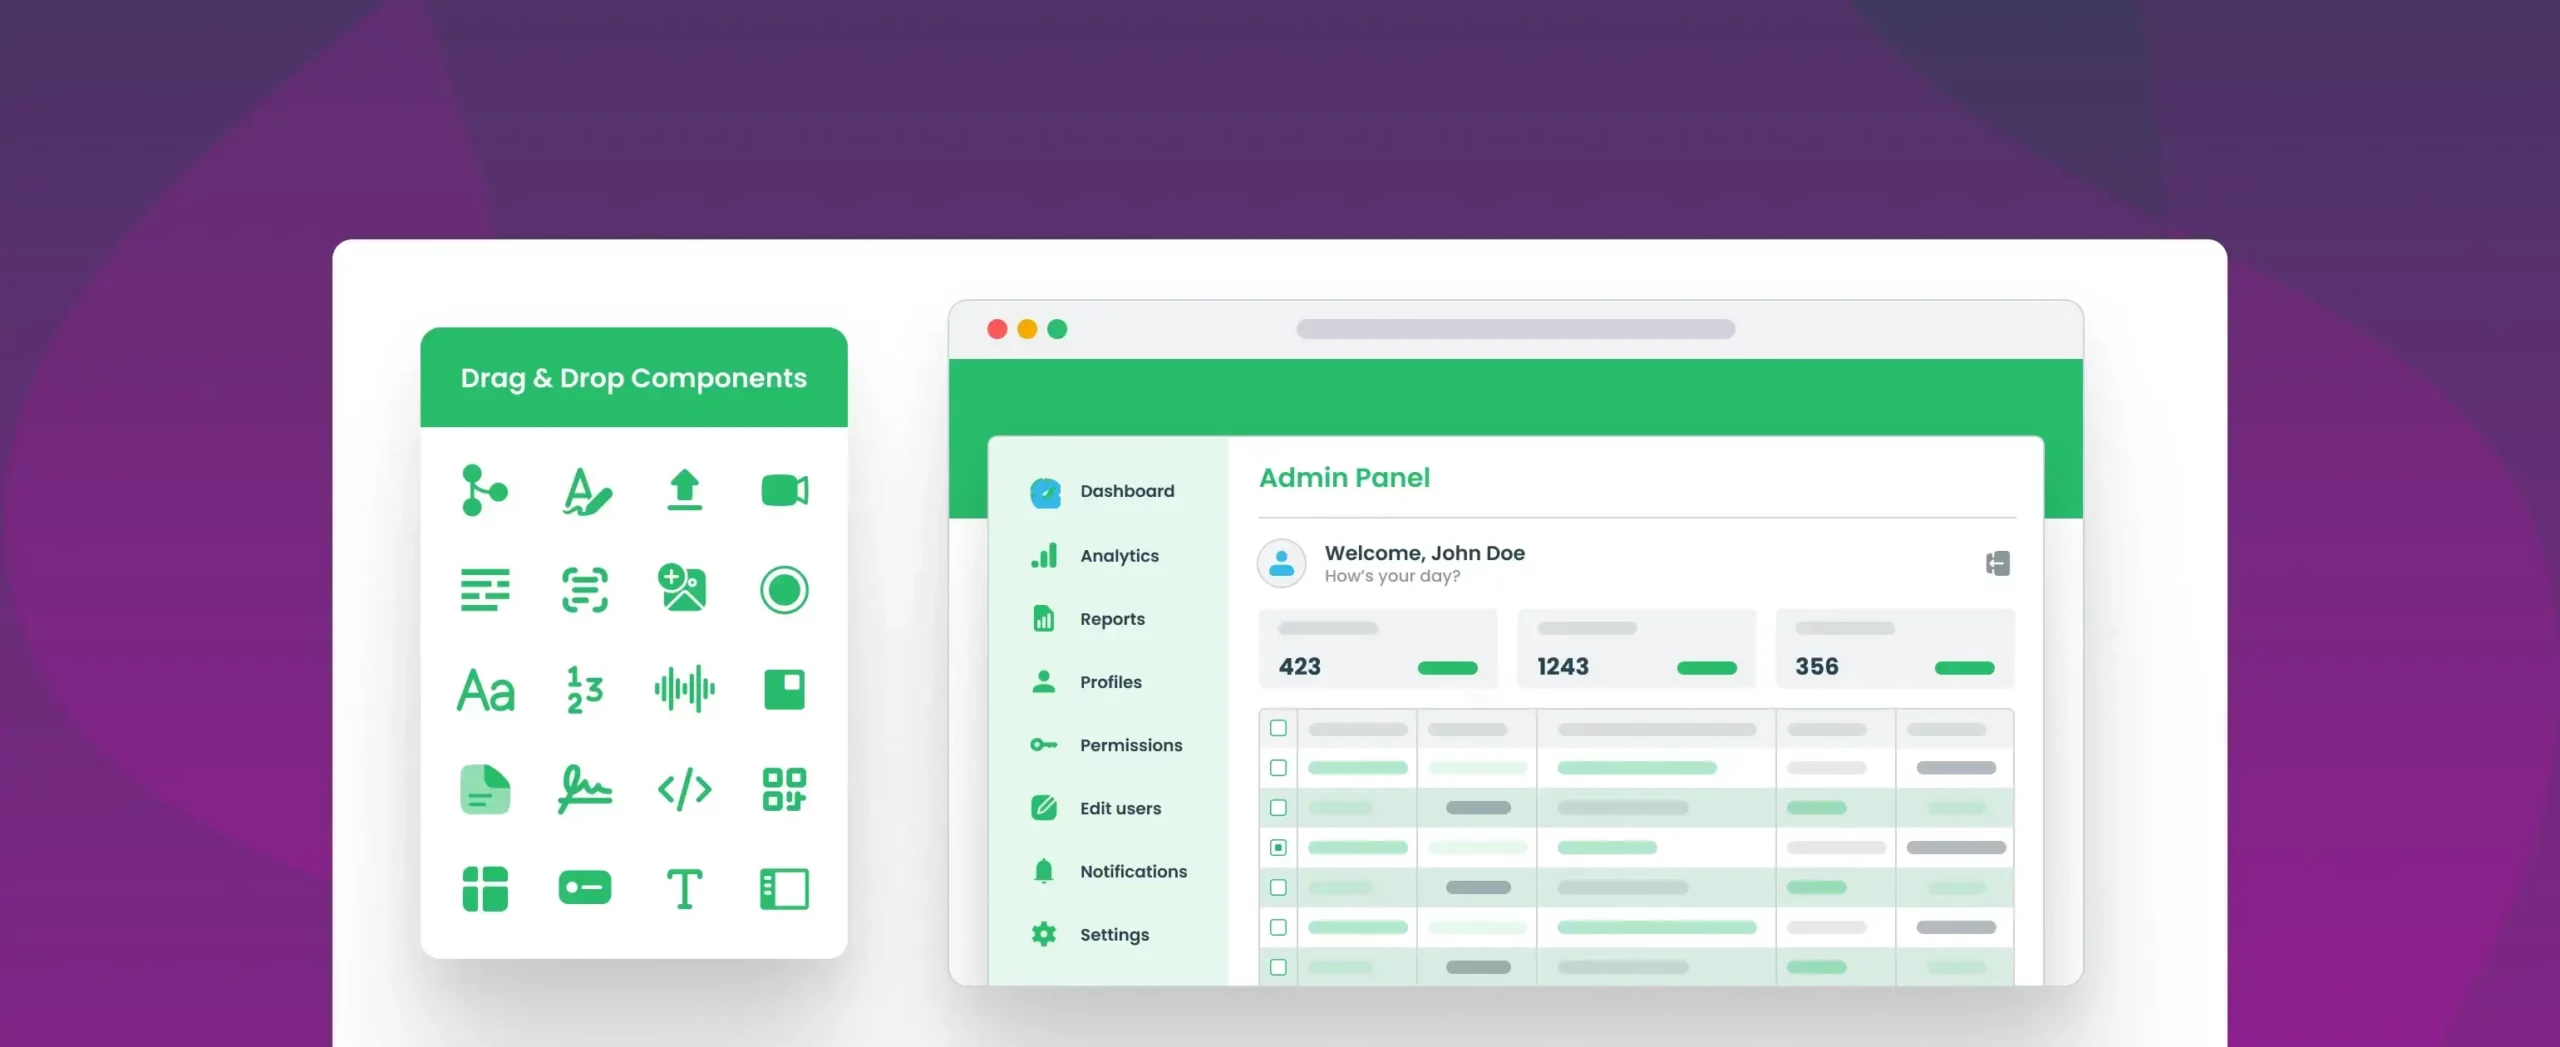
And the fastest way to build a frontend application for MySQL database is using DronaHQ. You can build a powerful front-end i.e. admin panel to manage all your data, in just under 15 minutes! Admin Panel or an Interface gives you a standard, error-proof way to handle your data. You can visualize and search all of your database tables, insert a record or a list of records into an existing table, delete an existing record from an existing table, update an existing record in an existing table, or optionally create a new record if none is found.
Also you can easily join with other data sources like GraphQL or Stripe.
Build custom internal tools on top of MySQL in minutes. Sign up for FREE
How to build a MySQL Admin Panel?
For the visual learners out there, we have a short Youtube video explaining the whole process in detail:
Step 1 – Connect your MySQL database to DronaHQ
You need to head to your host to get the following details –
- Host IP
- Port Number
- Database Name
- Username
- Password
If you’re finding some trouble acquiring this data, you can ask your developer. Once you have the details, all you need to do is click on add a new connector, click on MySQL, enter the respective details, and click on Test & Save connection. You are now connected to your MySQL DB. You can now add the queries you want by using standard SQL formulas and even create dynamic queries by creating variables and enclosing them in double braces (“{{var_name}}”)! These queries will be connected to the UI you build to populate the fields with data.
Step 2 – Build the UI
Obviously, you’ll want a UI to display and edit all your MySQL data. Luckily this is the easiest step as all you have to do is drag and drop controls you want to the screen. For displaying a list of data, we recommend our table-grid control as it’s quite flexible and is ideal for this scenario! For displaying the google sheets data, we used a list repeat along with a custom product list control, but you’re free to use a standard table-grid, list, or any other control you want!
Step 3 – Bind Data to the controls
The next step is to bind the queries you created in Step 1 to the controls you created in Step 2. For this, just click on any control you want to bind data to and select the data icon from the top-right. Then click the connector option and select the custom MySQL connector you created in Step 1. Now, all you have to do is choose the query you want, connect the variables, if any, to the respective control values and you’re good to go!
Step 4 – Add Validations
This is an important step to ensure all the data that enters your database is in the right format and doesn’t corrupt your database. To add validations, click on the rules icon on the left bar of any screen. This will open up a tray where you can configure the rules & validations of all your controls. Just switch to the validations tab and click on the control you want to add validations to. Then just use our interactive tool to create any complex conditional validations you want with just a couple of taps.
Step 5 – Build Action Flows
The last & final step is to add action flows to all your buttons in the app. To add one, just click on the control you want to add action to and click on the lightning icon on the right-hand side and choose the action to which you want to add a workflow to. Then just click on the ‘+’ button in the workflow and add the actions you want to perform. For example, to navigate to a different screen, you would use the “navigate to” action, and to insert data to the database you would use the custom connector you created under the server-side actions and so on. To read more on building action flows, click here.
Wrapping Up…
In just 5 simple steps, we were able to build a powerful MySQL admin panel capable of CRUD operations and working with other data sources like Google Sheets! If you want an IDE for MySQL, check out these resources on top MySQL IDEs. But if you want to build internal tools on top of MySQL, DronaHQ is the tool for you.
What’s next? We can just as easily create some amazing charts to display and visualize our data or integrate the app with even more services to make it a truly comprehensive dashboard. We can also add automations to automate some of our workflows, like generating a weekly MySQL dashboard report.
Connect DronaHQ with your MySQL database today to save time, resources & build some amazing apps!


